A mineral’s hardness number is one of the first facts you will see in a guide. It is useful, compact and easy to remember. It is also easy to misread. Mohs hardness describes resistance to scratching; it is not an overall score for how indestructible a crystal will be.
Use hardness to understand scratching resistance, not to predict resistance to every chip, impact, cleaning method or temperature change.
A relative scale with ten reference minerals
The Mohs scale ranks reference minerals from talc at 1 to diamond at 10. It compares scratching resistance rather than measuring a uniform amount between each number. A value of 8 does not simply mean “twice as hard as 4.”
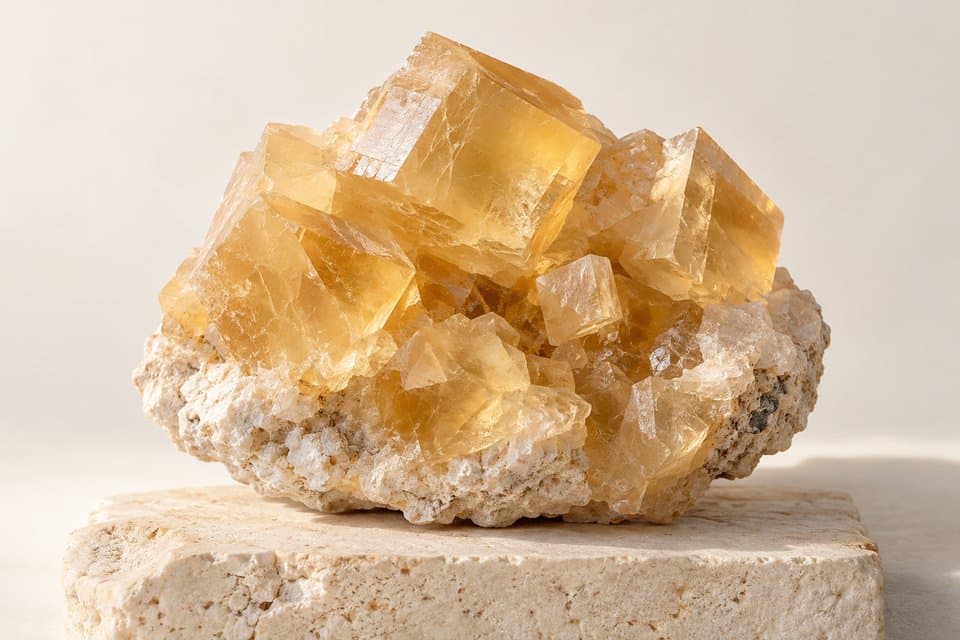
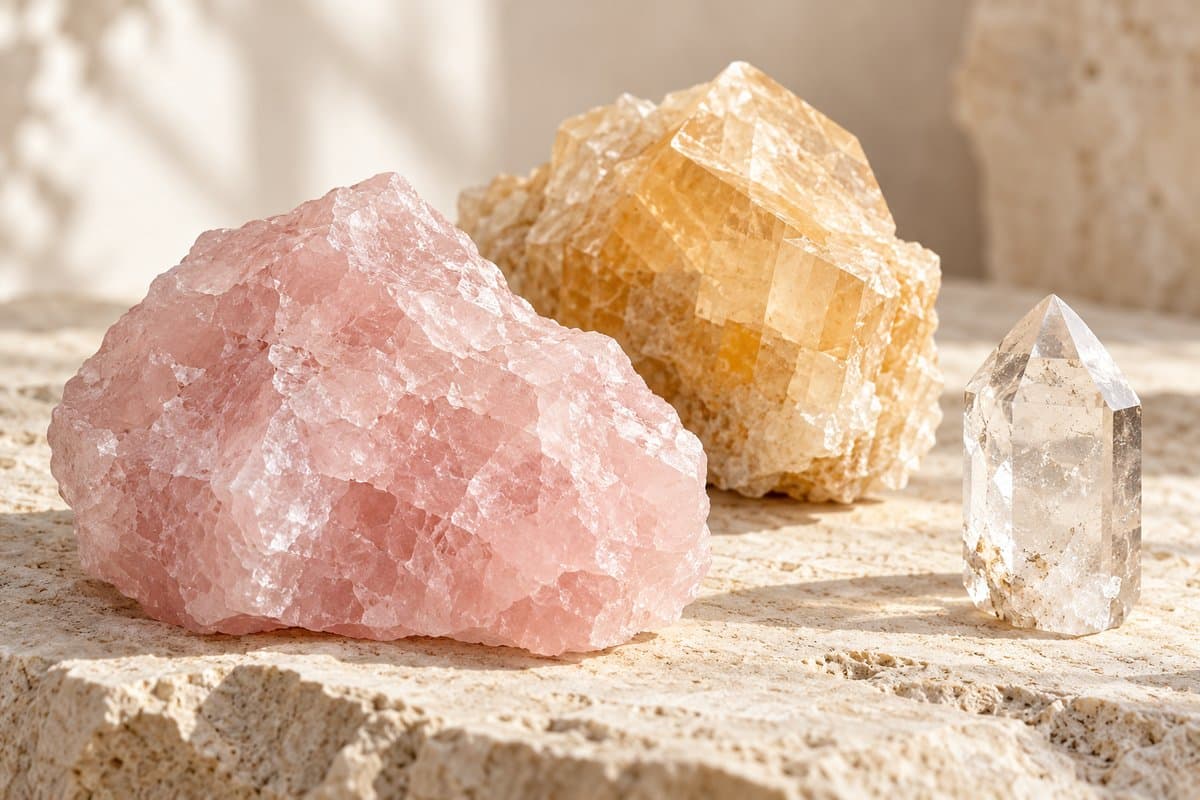
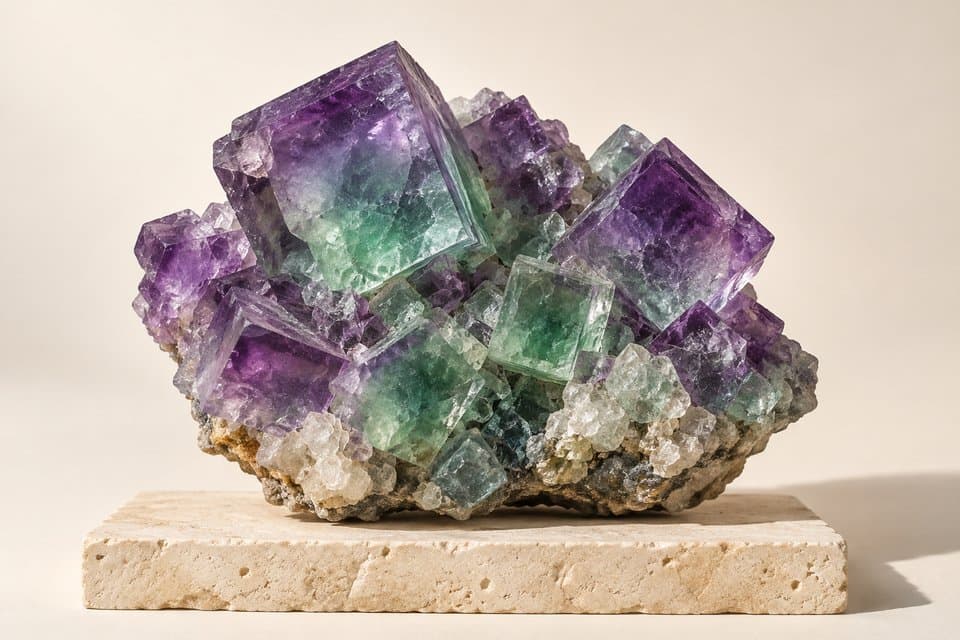
Familiar reference points include calcite at 3, fluorite at 4 and quartz at 7. The National Park Service publishes the complete reference sequence. For a collector, those examples are often enough to understand why stones should not be stored loose in a single bag.
Hardness is different from toughness
A crystal may resist scratching yet still chip when dropped or struck. Shape matters too: a narrow point or thin edge can be vulnerable during handling. A harder specimen is not automatically a safer object to carry unprotected in a pocket.
Think about the job you need a material to do. Preventing rubbing in a storage box is a scratching problem. Keeping a cluster from falling off a shelf is an impact problem. Keeping a treated or sensitive stone out of harsh cleaning conditions is another question again.
Why test technique matters
A proper comparison considers which material scratches which, and whether the mark is an actual scratch rather than residue. Results can be confusing on weathered surfaces, coatings or specimens made of more than one mineral. A photo cannot perform that comparison for you.
Do not use a collection specimen as a test surface without understanding the consequences. If you are learning mineral testing, work with appropriate teaching samples and guidance. A guide’s reference value should never be an instruction to damage a valuable object.
Turn the number into better storage habits
Individual compartments and soft, clean supports help stop specimens from rubbing together. Label each space so a piece can return to its own place after you photograph it. Make sure the support itself is free of loose grit.
Add the reference hardness to your collection notes, but keep it next to the proposed mineral name and the source of that identification. If the identification changes, review the care notes too. A collection record is most useful when its facts stay connected to their assumptions.
Sources & further reading
These guides combine practical collection advice with the mineral and gemological references below. Identification and value estimates are informational; photographs cannot replace appropriate expert examination.
From a little curiosity to your own collection.
Explore a likely mineral identification, learn its story, and keep your notes together.
Explore GemLore Free to download. AI identification and premium features require a subscription. Fair use limits apply.