An unfamiliar stone is an invitation to look more closely. The most useful first question is not “What color is it?” but “Which observations can I record without changing it?” A few careful notes turn a quick guess into an identification you can investigate.
Start with observations, compare several properties, and keep the identification provisional until the evidence supports it.
1. Start with the story of the specimen
Record where the stone came from before you start comparing pictures. A specimen found in a particular rock formation comes with different clues from a polished stone bought at a market. Keep the seller’s label, the date you obtained it, and any locality information. Treat an unverified label as a lead rather than a conclusion.
A useful collection note separates facts from interpretations: “Found beside a granite outcrop” is an observation; “probably quartz” is an interpretation. Keeping the two apart makes it much easier to revise an identification later.
2. Look beyond color
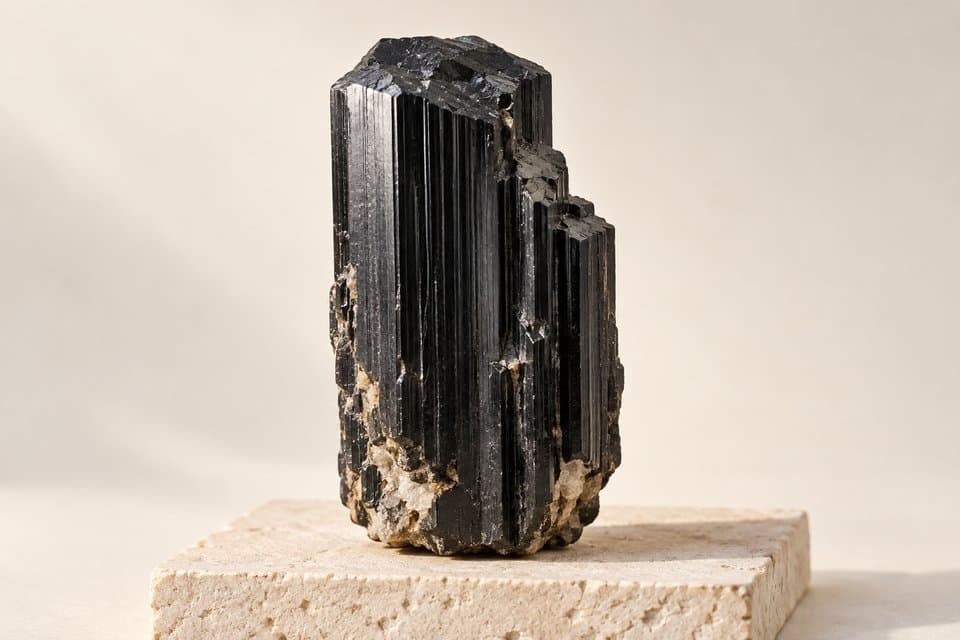
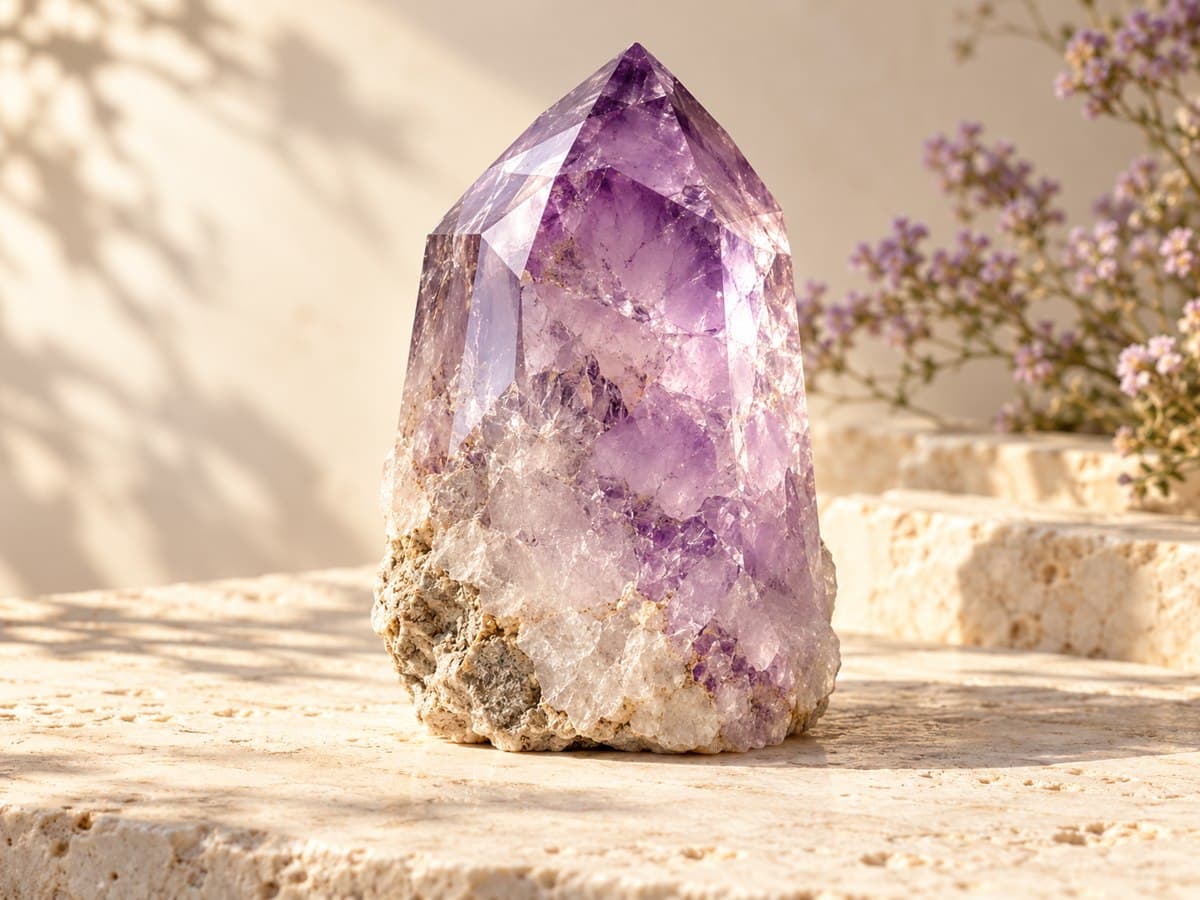
Color is memorable, but different minerals can share a color and one mineral can occur in several colors. Look at how the surface reflects light, whether light passes through the stone, and whether you can see repeated natural faces. Describe the specimen in ordinary language before trying to name every feature.
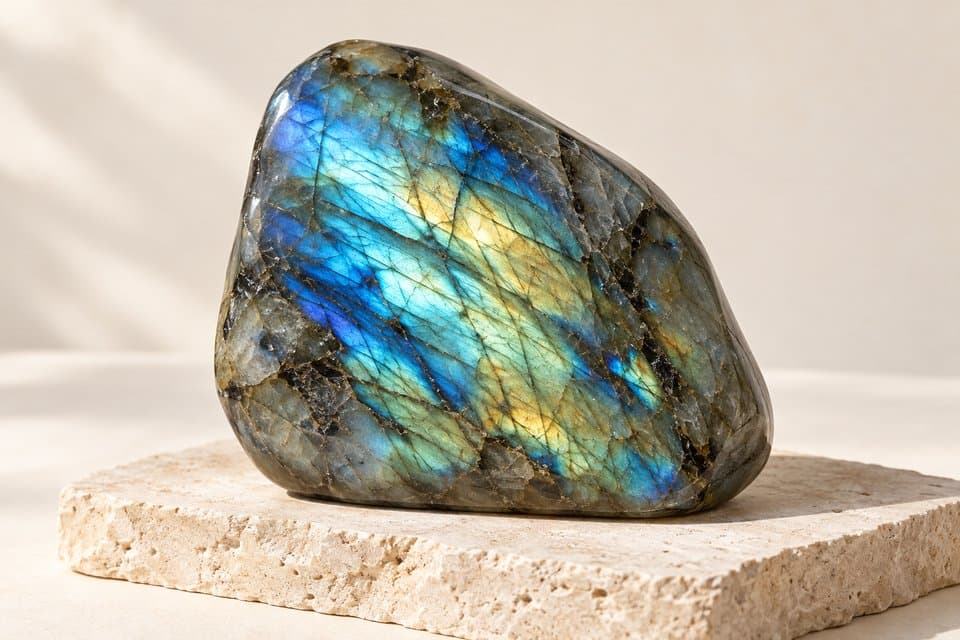
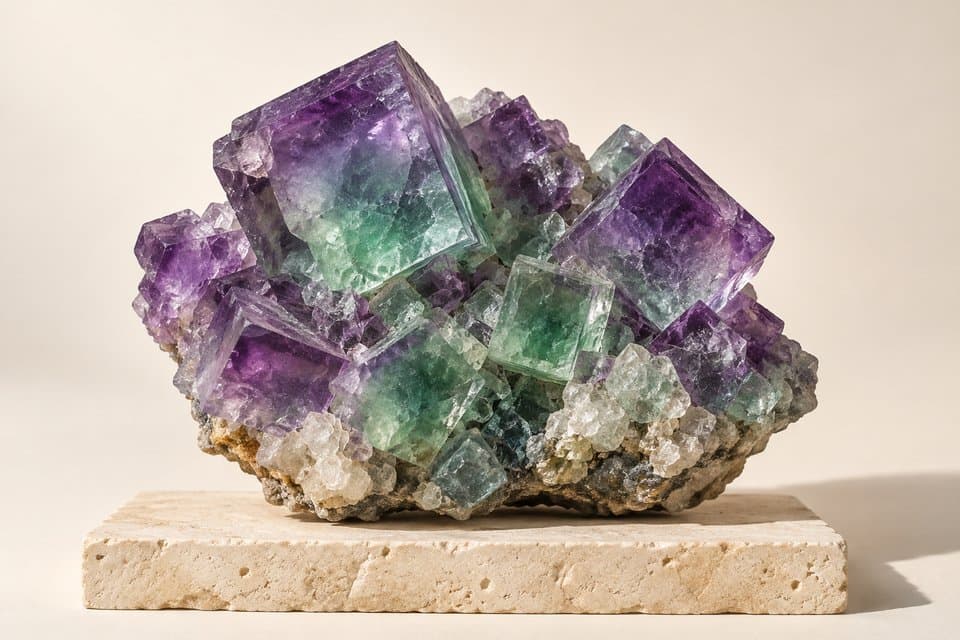
A polished sphere or tumble has lost much of its original external shape. Its shine may come from polishing, and a wet surface can look darker than the dry stone. Compare examples with a similar finish rather than matching a polished piece to a dramatic raw cluster.
- Photograph the dry stone in neutral, indirect light.
- Capture more than one side, including the base and any surrounding rock.
- Record visible bands, inclusions, fractures and natural crystal faces separately.
3. Compare properties without rushing into tests
Mineral identification commonly considers hardness, streak, luster, crystal form and other physical properties together. A photograph can help with visible features, but it cannot measure hardness or specific gravity. Reference properties displayed by an app describe a proposed mineral, not a test performed on your stone.
Avoid destructive experiments on valuable, unknown or fragile pieces. Scratching, streak testing and acid testing can leave permanent damage. An experienced mineral collector or qualified gemologist can help decide which observations or tests are appropriate.
4. Use an identification app as a starting point
A tool such as GemLore can suggest a likely mineral from a clear photo and help you organize the next questions. Compare the suggested identity with the specimen you actually have. Does its visible structure make sense? Is the material raw, polished, coated or set in jewelry?
If an identification affects a purchase, an insurance decision or a valuable collection record, seek appropriate professional examination. Save your original images and the reason for the proposed name so future you can understand how you reached it.
Sources & further reading
These guides combine practical collection advice with the mineral and gemological references below. Identification and value estimates are informational; photographs cannot replace appropriate expert examination.
From a little curiosity to your own collection.
Explore a likely mineral identification, learn its story, and keep your notes together.
Explore GemLore Free to download. AI identification and premium features require a subscription. Fair use limits apply.