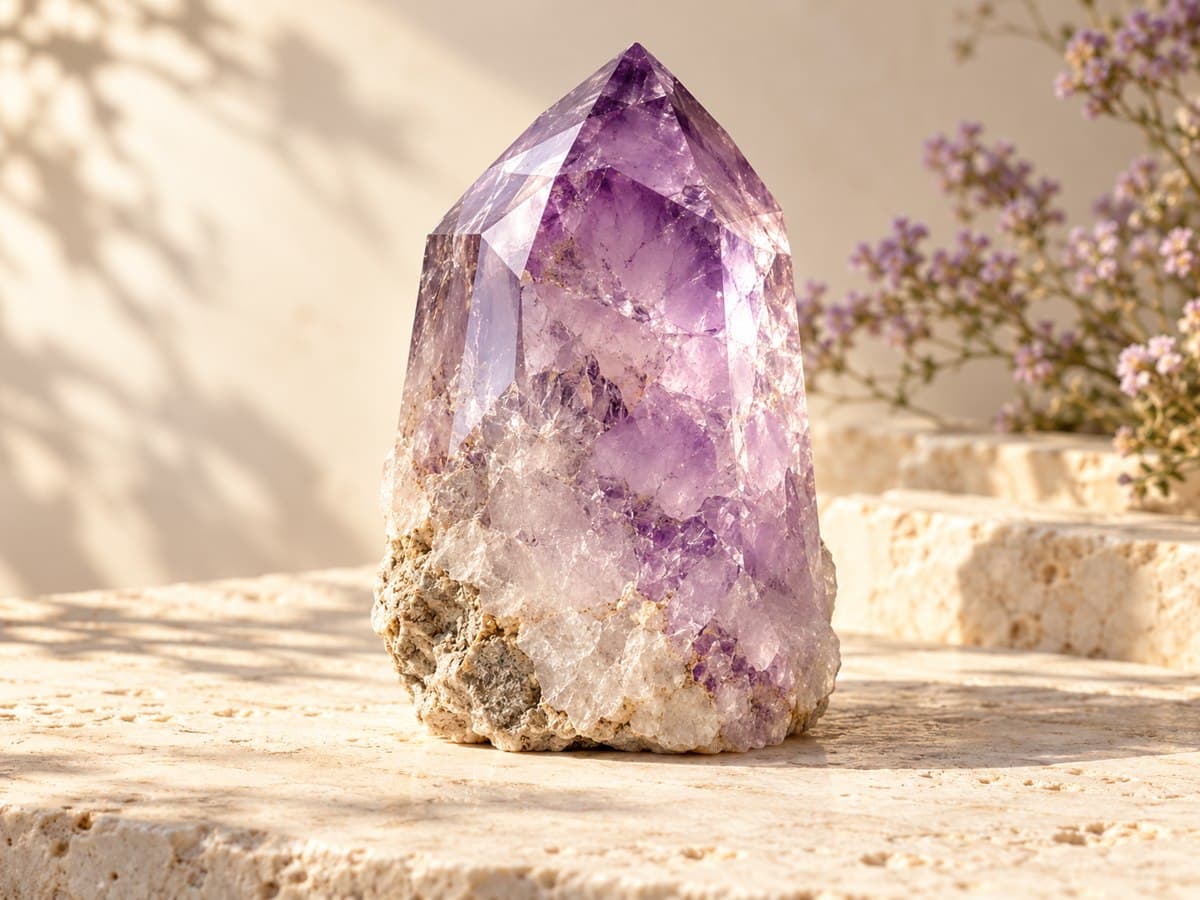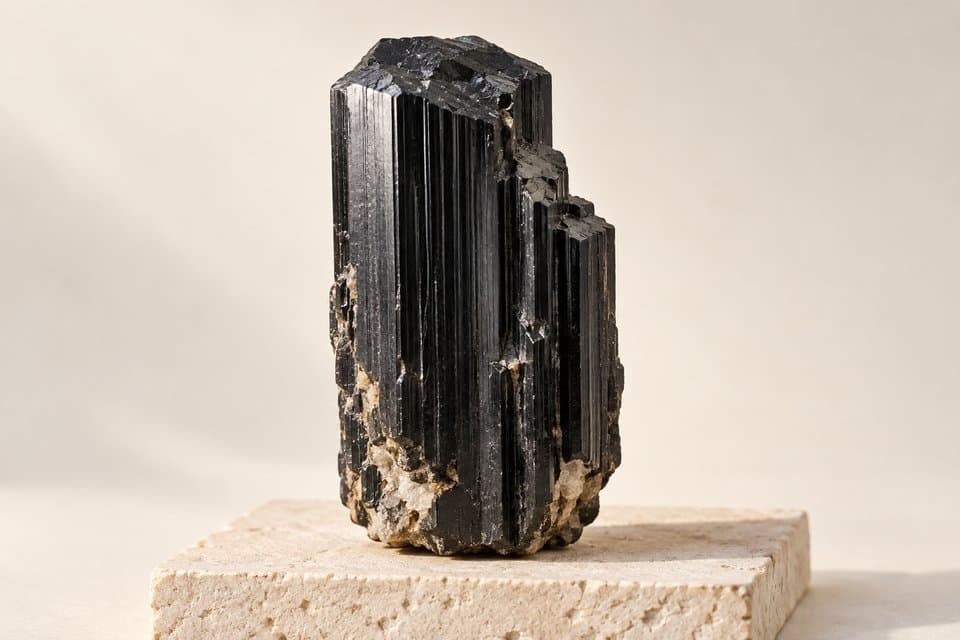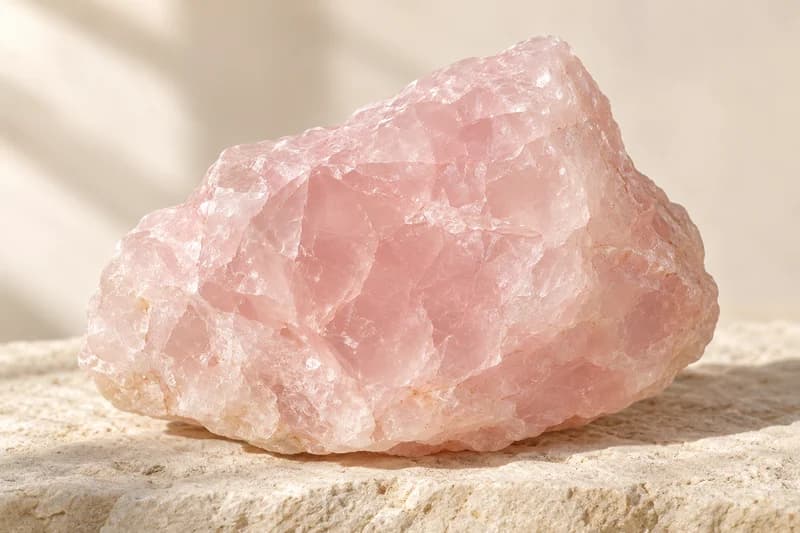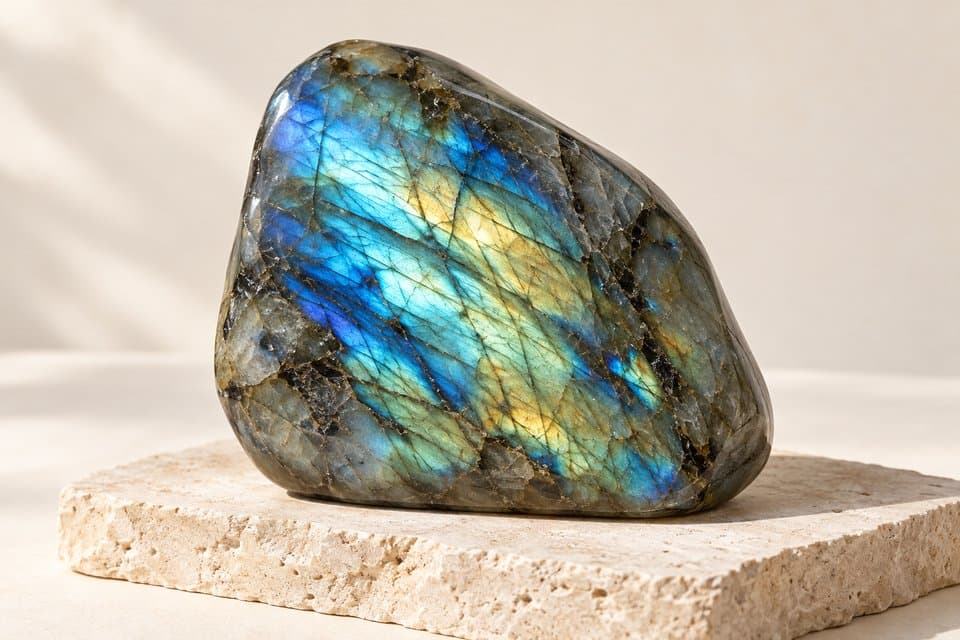
A beautiful crystal photo and a useful identification photo have different jobs. The first may emphasize mood; the second should make the specimen easy to inspect. You do not need an elaborate studio to improve the evidence in a picture. A repeatable setup matters more than dramatic lighting.
Show the specimen clearly and honestly: neutral light, a simple background, sharp focus and more than one view.
Choose light that reveals rather than transforms
Begin with soft, indirect daylight or a neutral, diffuse light source. Move strong colored objects away from the scene so their reflections do not tint a pale or reflective specimen. If a bright area loses all surface detail, soften the light or change the angle.
Avoid heavy filters, exaggerated saturation and effects that smooth away texture. Keep an unedited original even if you make a second image for sharing. The point of an identification photo is to preserve the features you want someone—or a model—to evaluate.
Simplify the scene
Use a plain, matte background and photograph one specimen at a time. Busy fabric, shiny trays and several similar stones make it harder to know which object is the subject. A light gray or muted neutral surface is an easy starting point.
Place a ruler beside the specimen in a separate context photo when size matters. Keep it in the same plane as the stone for a clearer visual comparison. Do not assume a scale measurement can be recovered from a close-up that contains no reliable reference.
Make a small set of purposeful images
Take one view of the complete object, then a closer view of an important surface. Photograph its underside and any surrounding rock if those are accessible without risking damage. Keep your camera steady and check the focus before moving the specimen.
For material that changes appearance with viewing angle, a single striking reflection can hide the rest of the object. GIA’s gem photography guidance discusses how lighting choices affect what a photograph reveals. Keep both an overall view and a detail view instead of choosing only the most dramatic one.
- Whole specimen, with the edges inside the frame.
- A second side that shows different natural faces or texture.
- The base or host rock, when safe to access.
- A sharp detail of bands, inclusions or another feature you want to discuss.
Review the image before you scan
Zoom in briefly: can you see an edge clearly, or is everything soft? Is the stone washed out, hidden by a hand or partly outside the frame? Retake an image that fails those basic checks before sending it for identification.
GemLore can help you explore a likely identity from a photo. If a result does not fit, collect a more informative image rather than trying to persuade the tool by editing the colors. No camera setup can replace physical testing when the question requires it.
Sources & further reading
These guides combine practical collection advice with the mineral and gemological references below. Identification and value estimates are informational; photographs cannot replace appropriate expert examination.
From a little curiosity to your own collection.
Explore a likely mineral identification, learn its story, and keep your notes together.
Explore GemLore Free to download. AI identification and premium features require a subscription. Fair use limits apply.